CLICK HERE FOR FREE BLOGGER TEMPLATES, LINK BUTTONS AND MORE! »
Showing posts with label SNOW ANGEL. Show all posts

Monday, January 13, 2014

Winter Wonderland Challenge at Exploring Cricut

Hello

     It's time for another challenge over at Exploring Cricut. This week's challenge is "Winter Wonderland, so be sure to join us and share your project on their blog. My design team entry is below.

Winter Wonderland Challenge 


Supplies
Cardstock- Recollections
Design Paper- DCWV Everyday 6x6 Stack 
Stamp- Winter Wishes Fiskars
Ink- Hero Hues Black
Cricut Cart- Winter Frolic 
Stickles- Christmas Red 

Thanks for stopping by & make sure to head to the Exploring Cricut Blog to see what the rest of our Design Team had created for you this week.

Friday, October 7, 2011

Imagine This Friday Challenge

Hi everyone :) Adele here
Welcome to Imagine This Friday Challenge
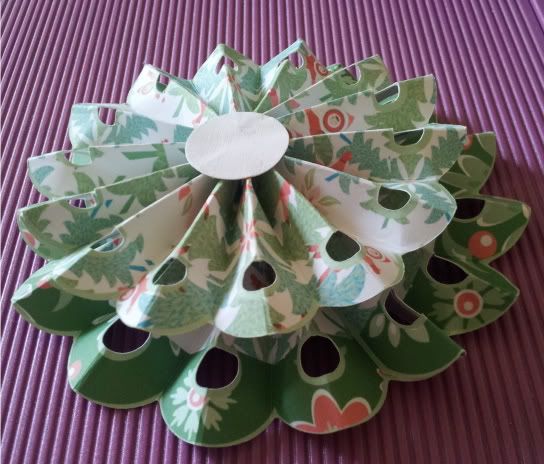
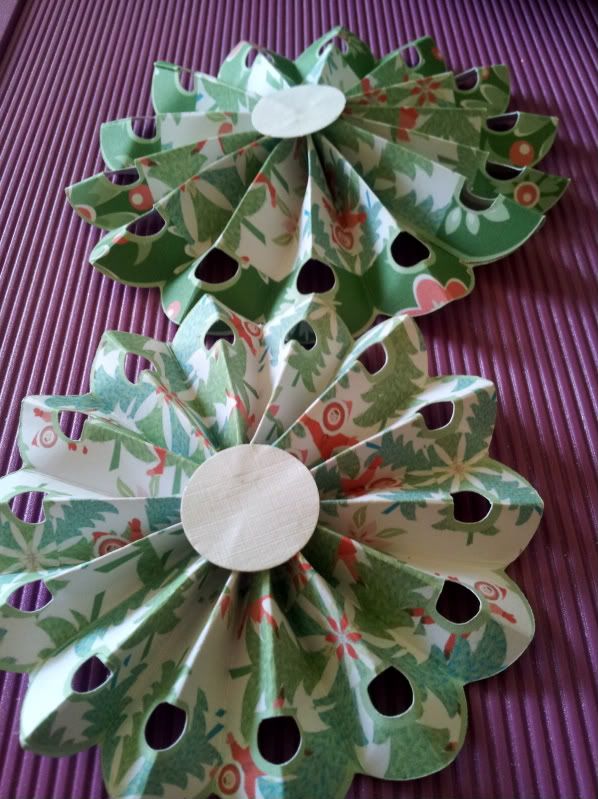
Today I wanted to make something really simple but decorative, so decided to make a Christmas decoration using the Imagine More cartridge that came with the Imagine, plus add 2 cached patterns from Snow Angel.
So here is what I made


This was really quick to make, so here is what you need to do to make your own.

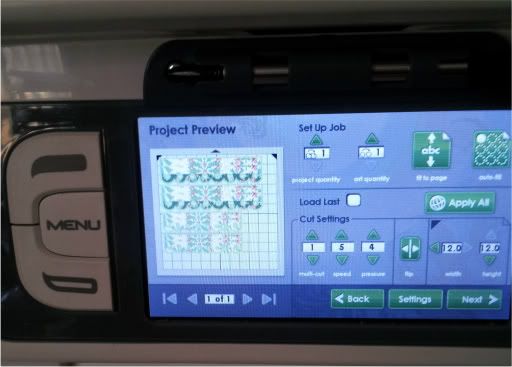
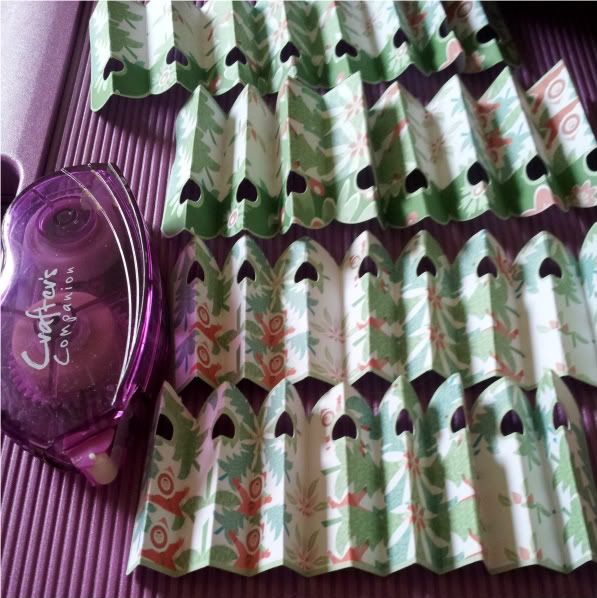
Firstly select a border from the Imagine More cart, size 2 @ 2.5" and the other 2 @ 2", then using the 2 cached Snow Angel patterns, flood fill your borders.


Score your borders on every divide and through the centre of the hole to give an even accordian folded border, mine worked out at every 5/8 of an inch.


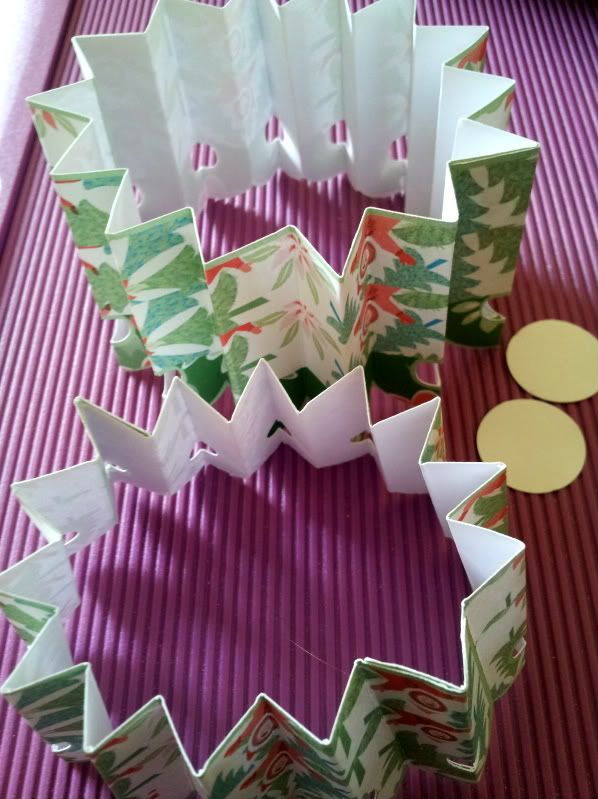
Stick both ends of each border together in relevant sizes ie. both 2.5" borders glued together to form a circle


I also used a circle punch to cut 4 circles to join the flattened circles to.


Pop the smaller circle onto the top for added dimension and there you have it...Simple :)

( To cache a pattern from a different cartridge, just select a basic shape, click the edit pencil, this brings you to the edit screen, choose your chosen pattern by holding your stylus on the pattern for a few seconds, a pop-up window will appear saying "Cache Pattern", click it and it will save it in the machine's memory and add it to the end of your next plugged in cartridge's patterns.)


I hope you enjoyed this quick project and your challenge is to make your own with any cached pattern you wish.

Have fun & happy crafting

Hugs

Adele

Friday, September 23, 2011

Imagine This Friday Challenge!!

Hi, Adele here to challenge you this Friday
For this weeks Imagine this Friday Challenge
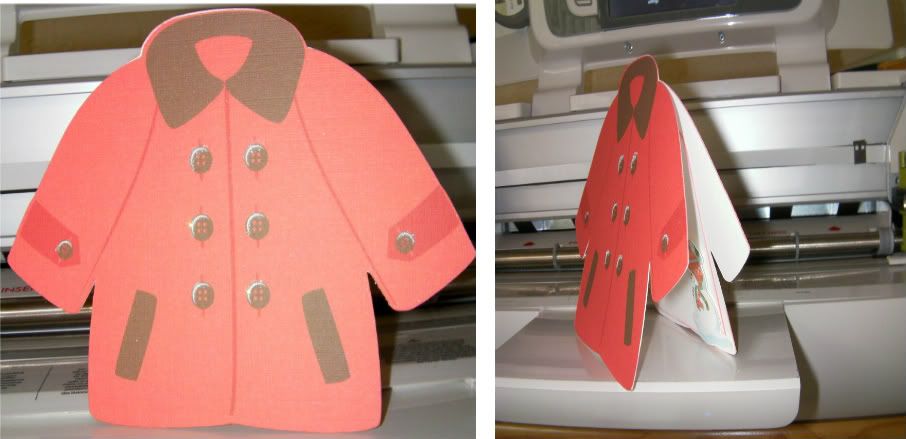
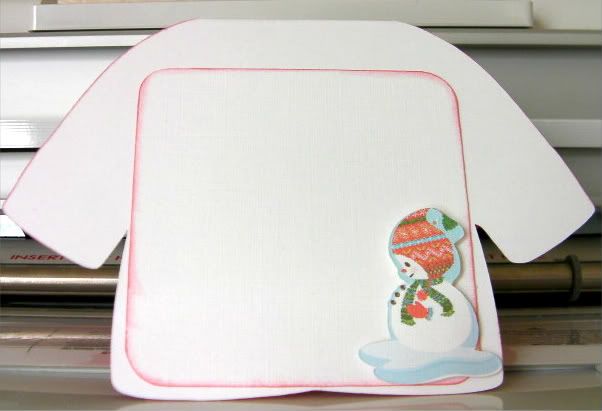
I made this Christmas card using Snow Angel & a built in shape, it's quick and easy and really cute !!


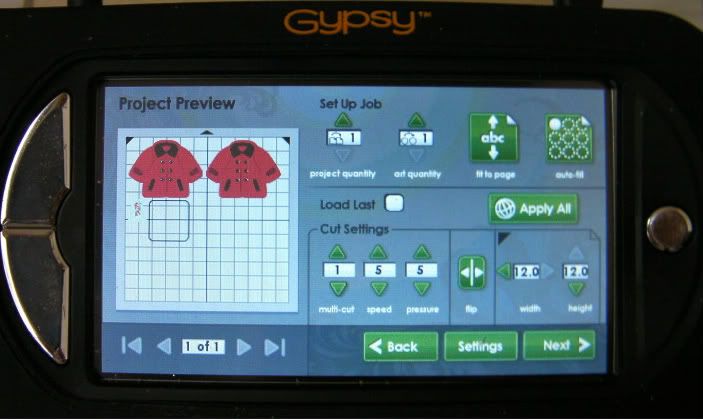
Snow Angel : Red Coat cut @ 4" one flipped for joining
Snowman image cut @ 1.5" for decorating the insert mat
Built in shape : Rounded square cut @ 3" for the insert mat
Sakura Gel Pen & Ultra fine iridescent glitter for the buttons
Super simple but really cute !!

Your challenge is to use any Image doubled up to make the base of your card

TFL & have a great crafty day
Hugs
Adele

Friday, September 2, 2011

Imagine That Friday

Welcome everyone, so glad you could stop in today. Wanted to give you a little background on myself before we begin. My name is Tammy Ireland and I'm from a small town in Southern Indiana and Ive lived in this area my entire life. I am married to my supportive hubby for 27+ yrs. I have been scrapbooking for about 5yrs now ( really since cricut came out) and I'm soooooo loving my hobby. I own the original cricut, which I still use while crafting away from home, pink E and now the E2 and an I. YES YOU CAN SAY IT, BOY THAT LADY IS OBSESSED! OK that's all I'll bore you with today. LOL
Just so you know I was going to include a video of today's post project, but last week my Imagine quit loading paper, so its on the return truck as we speak and I wasn't able to get a vid done. For my project I decided to go with a couple of Christmas Cards. I used my Snow Angel cart for both of them. I did change up some of the papers though. ENJOY!
Both cards are A2 size.  4 1/4 x 5 1/2    Sorry about the quality of my pics My camera has been doing this.
Ok sizes and such: white  A2 card, holly layer 4 x 5 1/4 printed from Snow Angel page41, Green cs ( from my scrap box) embossed layer 3 1/2 x 5    note***** I left enough room at the bottom unembossed to place my MERRY CHRISTMAS sentiment (I used a cuttlebug Christmas embossing folder) Sorry I don't have the name.
For the tree I printed all the layers separate and changed up the base to a different pattern paper from the  same cart.  The size is 4".   I used a MERRY CHRISTMAS rubber STAMP for my sentiment. I added some stickles to the tree for some Christmas bling. Gotta have bling at Christmas, RIGHT.

Here is the tree on page 22

                                                                                CARD 2

For card 2  this is a softer looking card and I love it.
White A2 size card , printed pattern paper (from snow angel, page 42)  4 1/4" x 5 1/2" ,  Flower is cut at
4 1/2"  and I changed up the colors to all pattern papers.  For the leaf I used the pattern on page 40, for the middle layer I used 39 and for the top layer I used 43.  For the center of my flower I used some MS glass beads and for my Sentiment I used my Rubber stamp again on white CS and then fussy cut it out and added it to my card.  I also add a strip of velvete ribbon on the bottom.  I did do some inking the edges on both of todays cards.

Here is the flower on page 25

OK gang that's it for today.  My challenge for you is to get your Imagines out and make a card(s) for Christmas to get a head start on the upcoming holiday season and change up your papers.  Use mainly your imagine patterns for you papers
HAVE FUN

Rosa