CLICK HERE FOR FREE BLOGGER TEMPLATES, LINK BUTTONS AND MORE! »
Showing posts with label Use Your Stash Wednesday. Show all posts

Thursday, December 1, 2011

Use Your Stash Wednesday

So like many of us do, we shop, shop, shop and eventually we have a bunch of crafting supplies just sitting there. Now what do we do with these supplies, use them for my wednesday challenge. For this week's challenge I used the new items that I had added to my stash a few week's ago.


Christmas Card

Recipe

Pattern Paper- DCWV Christmas & Winter Stack
Cardstock- Recollections
Snowflake- Martha Strewart Punch
Stamp- Recollection
Bling-Studio G

Hope you enjoy today's card!

I challenge you to create a wintery card using anything and everything in your stash. Have fun!


Thursday, October 20, 2011

Use Your Stash Wednesday

Hello everyone this is Rosa, sorry for the late post but I have been super busy with 40 invitations I been making for my friend's big birthday party. The card I am sharing with you guys was very easy to make, I hope you enjoy.

Recipe:
Cardstock- Recollections
Designer Paper- DCWV Ghost & Goblins Matstack and coordination cardstock
Adhesive- Scotch ATG and glue dots
Ink- Martha Stewart Cat eyes

Wednesday, August 31, 2011

Use Your Stash Wednesday Challenge

Hello.... Happy Wednesday everyone!  My name is Lori and I can't begin to tell you how excited I am to be a part of the Design Team here at Imagine, Create, Share.  I am truly passionate about papercrafting and I am thrilled to be able to share some of my projects here with you.

Since it is Use Your Stash Wednesday,  I decided I wanted to create my card using some old paper stacks I have had for a long time, plus a couple of old Cricut cartridges as well. My anniversary is just around the corner, so I thought I should make my DH a card.

Here is the paper I started with:


DCWV Flower Shower stack
Stampin Up 6x6 Sampler pack
Stampin Up Kraft and Whisper White
Bazzill textured brown paper (not in photo)

Here are the cuts I used:

Cartridges used:
Card base and layers:  A Child's Year
Heart: Wedding (extra white hearts were used to make the heart thicker like chipboard)
Happy Anniversary:  MS All Occasion Cake Art

And now the final product:

The final touches:

Brads:  Stampin Up Antique Brass Hodgepodge hardware
Charm and hemp twine: unknown
Gelly Roll white jel pen


So, for today's Use Your Stash Challenge, make an anniversary card (or an I love you card) using at least two patterned papers from your stash. If you want an added challenge, make it a shaped card.

Thank you so much for stopping by. I hope you are able to join in on the challenge.


Wednesday, August 24, 2011

Use Your Stash Wednesday!

Hi everyone! This is AmyS from Amy's Digi-Scraps and today is my Design Team post for Enjoying the Bug.

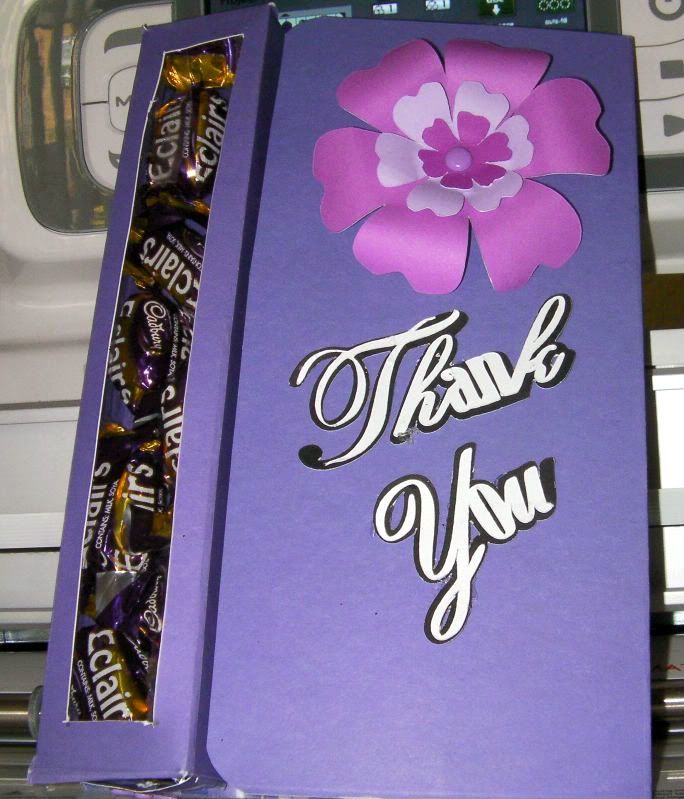
Since it is Wednesday, the theme is "Use Your Stash" and while I was initially going to create a birthday card for a 16 year old male, I had a few issues and decided to finish my Thank You card early.

Recipe Ingredients:
Gypsy machine
Cricut machine
George Cricut cartridge
White cardstock - always have this on hand
Dark Pink cardstock - from an old Cricut 6x6 pad
Light Pink cardstock - from an old Cricut 6x6 pad
Martha Stewart black glitter - left over from Halloween
Black pigment ink - I have no idea where I got this!
VersaMark - always have this on hand
CTMH Hollyhock ink
Inkadoo stamp from Big Lots
Embossing folder - I received this as a RAK, I think it is Tim Holtz's Burlap?
Plastic clamshell from a Cricut Cartridge - I save most of mine


I had created a window card using my Gypsy machine and George cartridge solely for the purpose of using the plastic from my Cricut cartridges. This was the perfect opportunity to use the file.

First, I selected my papers and laid them out on my Cricut mat. I have an Expression, but this file is easily modified for the Create or the Personal machines.

Then, I cut a piece of the plastic and wiped it clean on both sides. I adhered it to the darker pink using my ATG gun - this is super sticky, so get it right the first time.

Then I lightly inked the edges with black ink.

I then adhered the darker pink with the plastic to the white card base. You can see the lighter pink layer here. I had set aside the window cutouts from the white and dark pink for another project, but I will be using the lighter pink cutout.

I stamped the Thank You sentiment from the Inkadoo set with black pigment ink. I did attempt putting the Martha Stewart glitter on then, but it would not hold much of it. So I dried it off and stamped over it with the Versamark and then sprinkled the MS glitter on top. Next time I won't use the pigment ink - so I recommend that you use regular ink unless you plan to emboss the image.

I lightly inked the edges of the light pink cutout and then adhered it so the sentiment was centered in the window. (The above picture is truer to color than below. These pictures are way off in color as my little camera is misbehaving and I am using a borrowed laptop that doesn't have more than a basic paint program for editing. My apologies.)


Next, using the CTMH hollyhock ink again, I inked the sides of the light pink layer and ran it through my Cuttlebug machine using the burlap (?) embossing folder. Then I lightly "kissed" the textured image with the ink pad to make the texture pop a little more. The final touch was to ink the edges of the white card base with the CTMH Holloyhock ink to tie it all together.


I hope you enjoyed.
~Amy


Now, your challenge is not only to use your stash, but to incorporate either a window or plastic into your creation!


Sophisticated cart


Wednesday, August 17, 2011

Welcome to the First Use Your Stash Wednesday Challenge

Hello everyone! I'm Brenda and very excited to be on this Design Team! For the Use Your Stash Wednesday Challenge, I decided to make this Halloween card.

Front of the card

Inside of the card


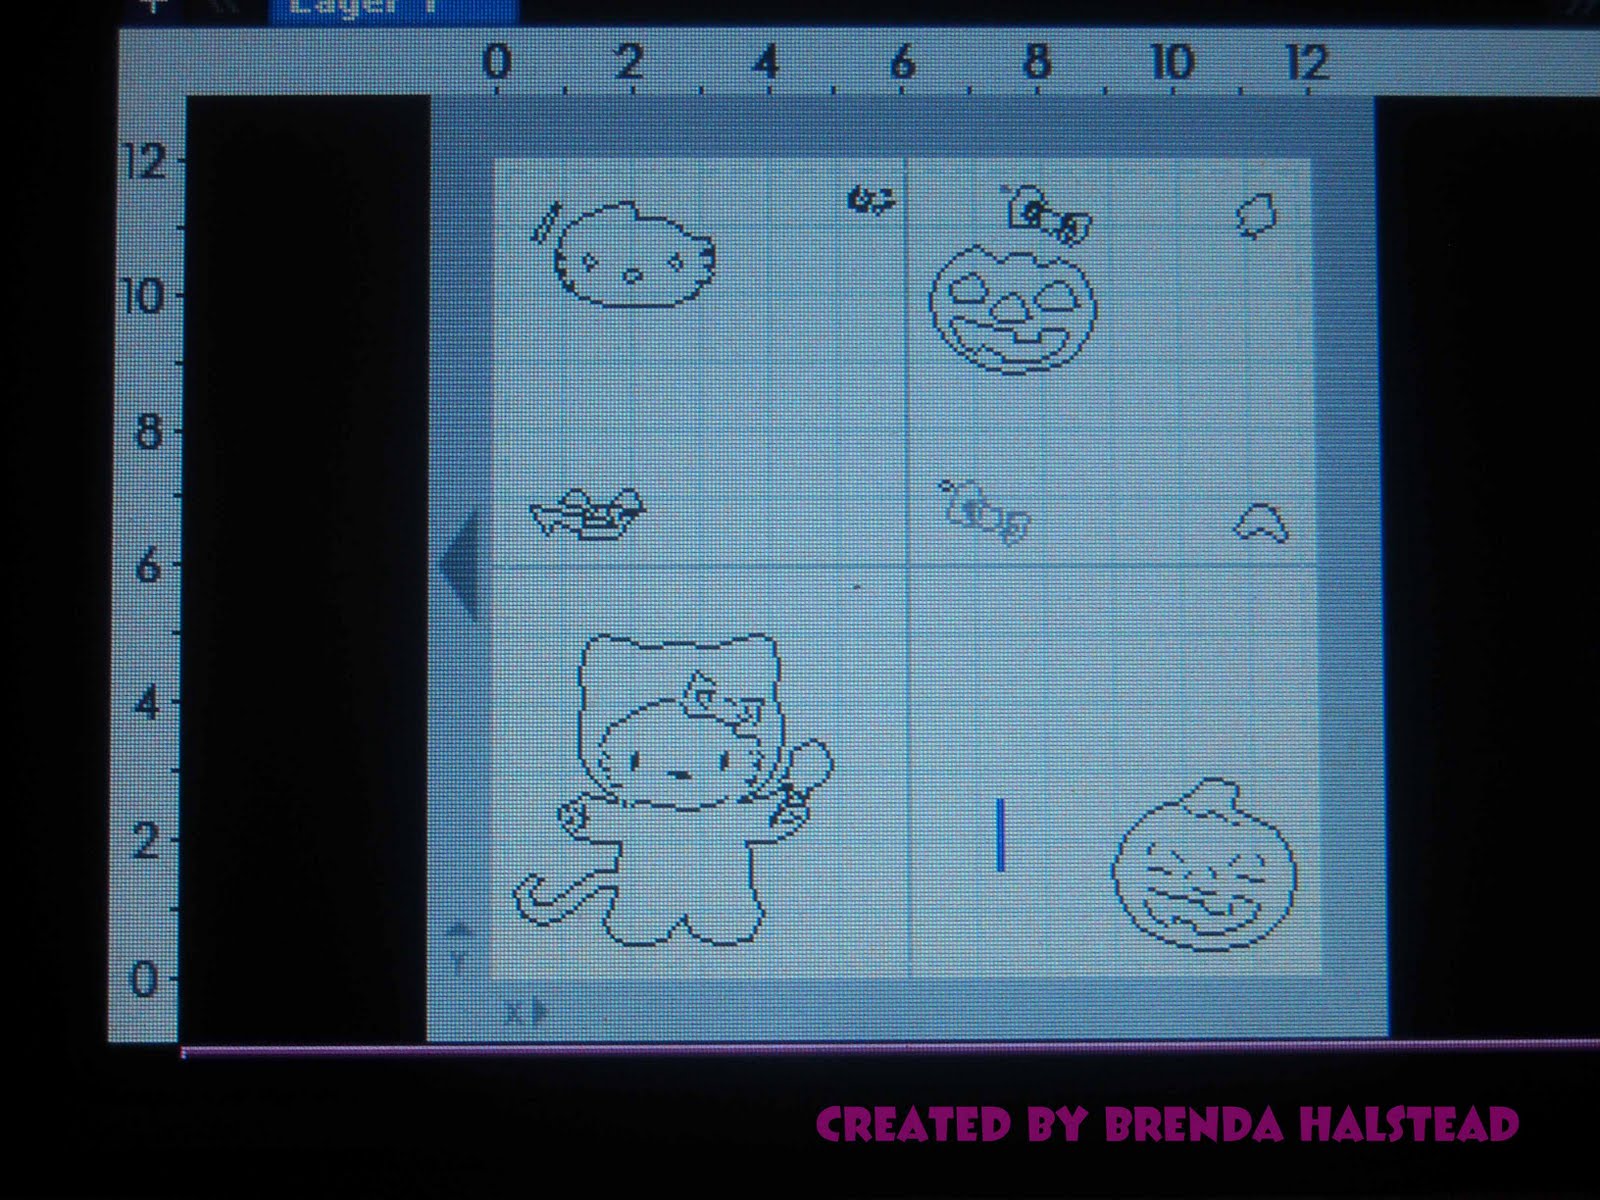
I used my Gypsy and Expression 2 to make this card.  Here is a screen shot of my Gypsy.


And here is a shot of the paper on my mat.


I cut Hello Kitty (at a height of 4 1/2 inches) and the pumpkin (at a height of 2 1/2 inches) from the Hello Kitty Greetings Cricut cartridge.  All cardstock is Bazzill. The base of the card is from a pack I bought at Hobby Lobby.  The patterned paper on the front of the card is from the DCWV Flower Shower Spring Stack.  The stamp on the inside is by The Paper Studio - Holiday Headlines Wood Stamps.  Everything I used has been in my stash for a while, and it sure feels great to be using some of it up.

I hope you like my card, and join me in using your stash for this Wednesday challenge!

Rosa