CLICK HERE FOR FREE BLOGGER TEMPLATES, LINK BUTTONS AND MORE! »

Sunday, September 25, 2011

Challenge Yourself Monday

Hi Everyone!  Brenda here with Challenge Yourself Monday.  I've decided to use a beach theme for the challenge today.  Here is the 2 page layout I created.

First Page


Second Page

All cardstock is Bazzill.  I used A Child's Year for the beach umbrella (cut at a height of 3 1/2 inches), Simply Charmed for the title Life's A Beach (cut at a height of 3 1/2 inches) and Life's a Beach to cut the pails (I used my Gypsy to weld 3 of the borders together, cut at a height of 2 3/4 inches).  Here is a shot of my Gypsy screen.


I had fun making this layout.  What will you come up with for the beach theme?

Friday, September 23, 2011

Imagine This Friday Challenge!!

Hi, Adele here to challenge you this Friday
For this weeks Imagine this Friday Challenge
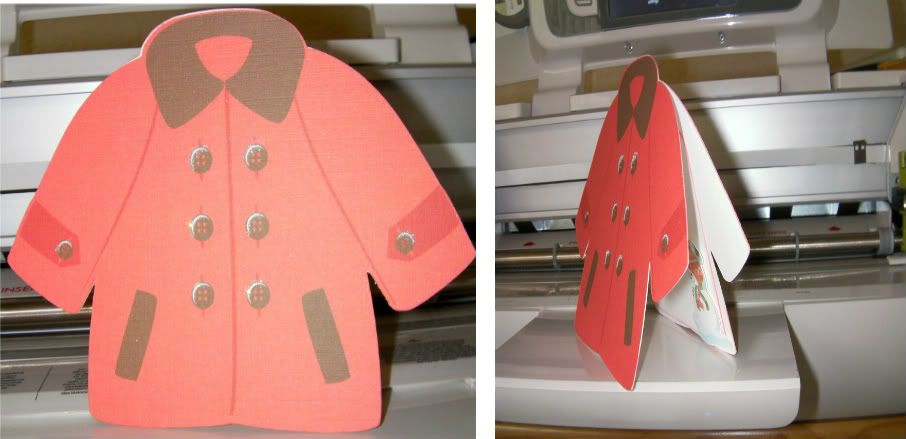
I made this Christmas card using Snow Angel & a built in shape, it's quick and easy and really cute !!


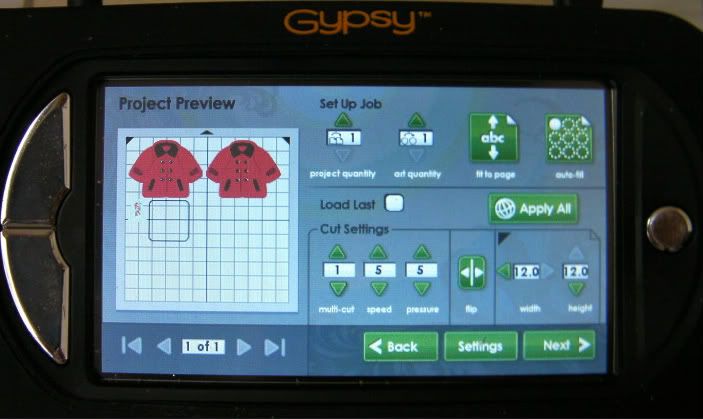
Snow Angel : Red Coat cut @ 4" one flipped for joining
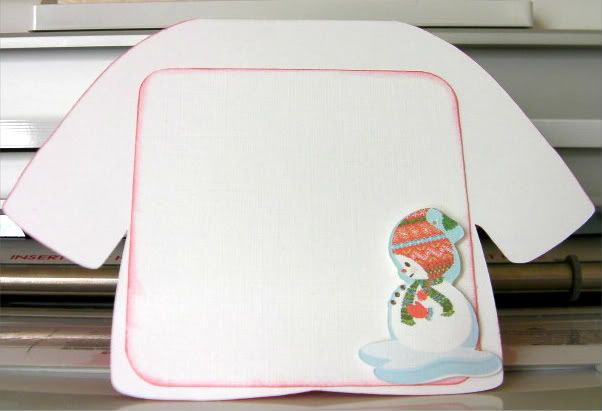
Snowman image cut @ 1.5" for decorating the insert mat
Built in shape : Rounded square cut @ 3" for the insert mat
Sakura Gel Pen & Ultra fine iridescent glitter for the buttons
Super simple but really cute !!

Your challenge is to use any Image doubled up to make the base of your card

TFL & have a great crafty day
Hugs
Adele

Tuesday, September 20, 2011

Halloween Mini Card Series

 is the second week of my Halloween Mini Card Series, this card was very easy to assemble. I hope you all are enjoying my creations as much as I am enjoying creating them.


Card 2


Recipe:
Embellishments-Spare parts bottle caps and epoxy stickers
Punch- Martha Stewart Spider web punch
Papers-Ghost & Goblins Matstack & Cardstock pack
Ink- Colorbox Spooktacular pigment ink.

Monday, September 19, 2011

Challenge Yourself Monday

Good Morning to everyone, I hope your weekend went well.  I had a very busy one but was able to create this challenge project for you all today.  I am getting motivated to try to get back on my diet so I can live a bit healthier lifestyle.  I was on Weight Watchers awhile ago and they stressed to write anything you eat, no matter how small or large,  down so you can see what you are eating through out your day.  It does amaze you if you do it for everything you put in your mouth.  For my challenge today I decided to alter
 a composition book for a diet journal. This was a challenge to me cause I rarely alter things.  I think it turned out pretty nice and looks alot better then the black comp book.  LOL  Here's my project.  
I will have the cut sizes at the bottom of post.  For your Challenge I challenge you to make anything you want, like a card, scrapbook page or alter something and add ANY FRUIT Die Cut from your favorite cartridge.                                 
FROM THIS


TO THIS

THIS IS THE BACK OF THE BOOK.
                                        
 The Sizes and carts used are:

The covering is  6 5/8"x 9 3/4"  light weight pattern paper by MY MINDS EYE
Apple with swirl   (Celebrate with a Flourish)   3"
Journal        ( Graphically Speaking Page 51)    1/2"   make sure you don't use RDS
Diet            Is some white chipboard letters in my stash, but your favorite font could be used
Banana       (Preserves)  2 1/2"
Grapes       (Preserves)  3 1/2"
I used an apple brad for my dot on the word journal by recollections.

OK GANG its your turn.  Get out your thinking caps and get crafting something with a fruit as your main image(s).  HAVE FUN>  I had a lot of  Fun with this Challenge and Hope I can really use it to help me with my weight Loss Goal. 

TAMMY IRELAND


Friday, September 16, 2011

Imagine That Friday!!

Hello everyone!  Happy Friday to you. :)   I am very excited to be here today to share a really easy and fun project I made.   Lately I have been playing around with my Imagine and creating my own pattern paper, and  I am totally loving it!  The possibilities are absolutely endless!

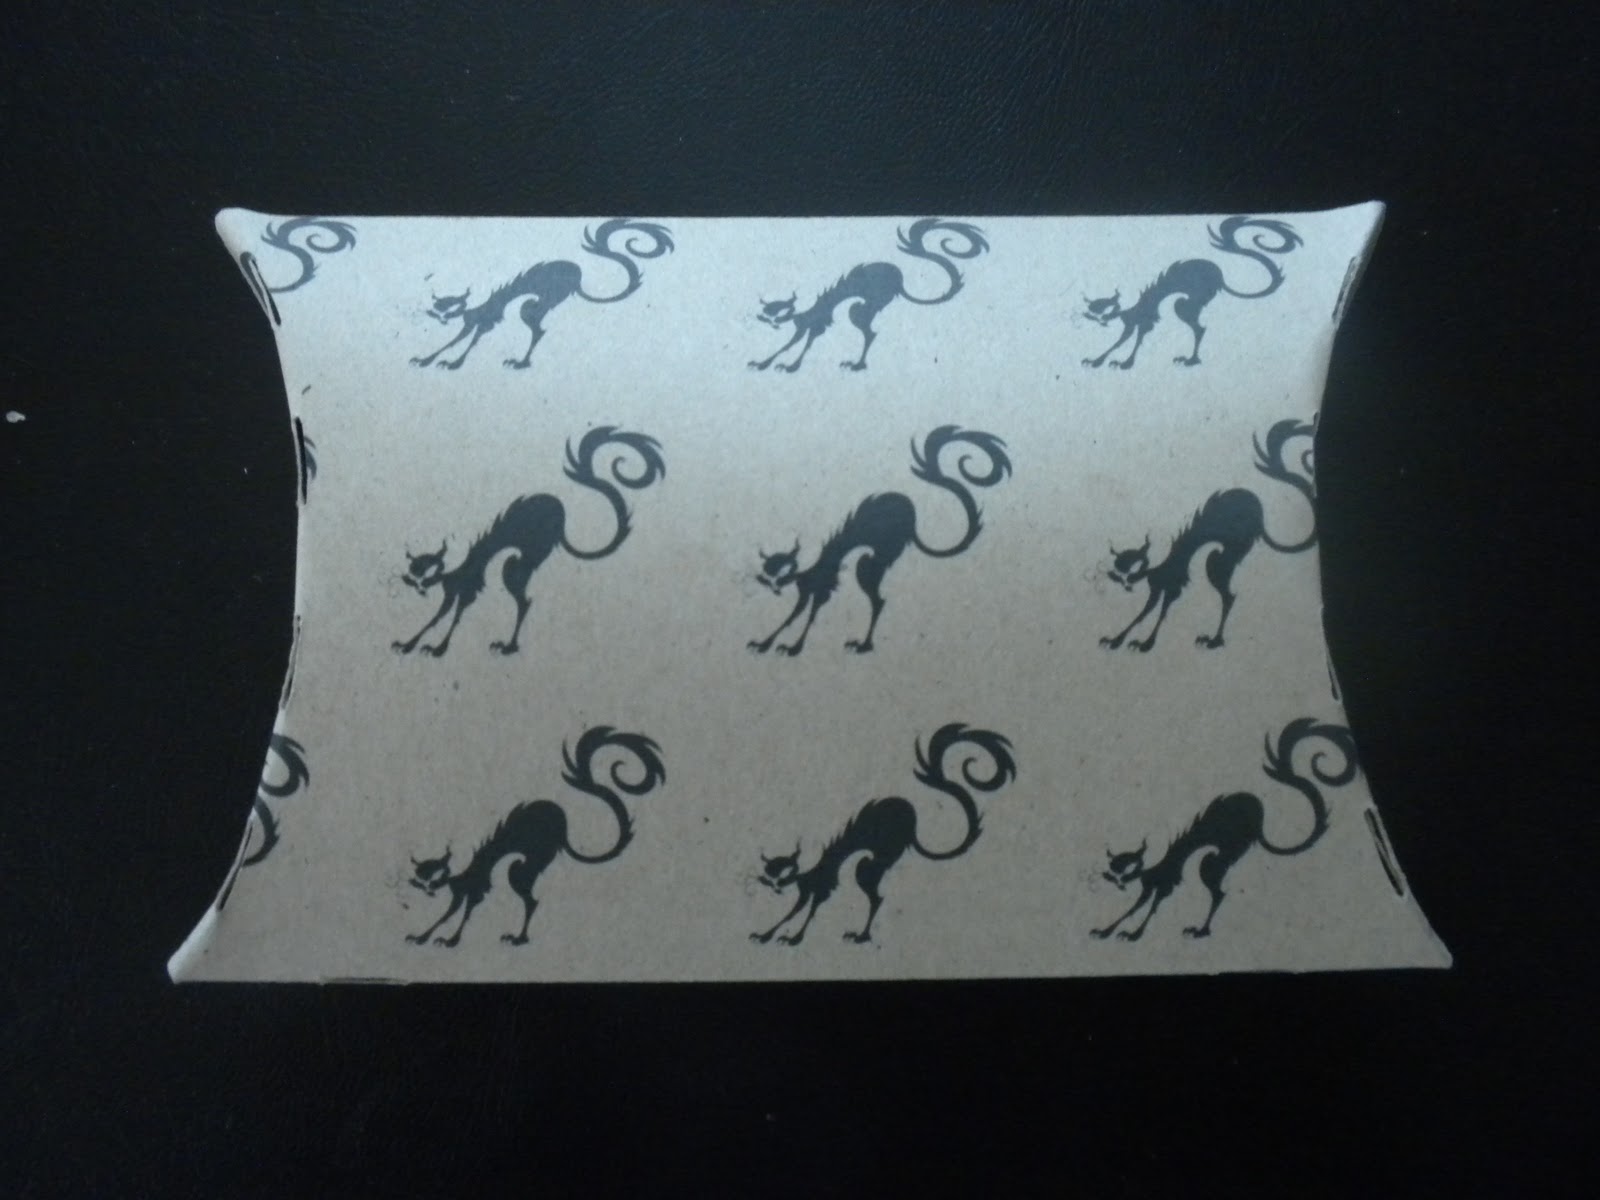
With Fall right around the corner, I can't help but think of Halloween... it is one of my favorite days. I know I will be having to make some little favors for my kids' school parties, so I thought I'd get a jump start on that with today's project.  I decided to make a cute little pillow box to put a few goodies in.... I think the kids will enjoy these. (I will be making a variety of boxes to keep them interesting!) 


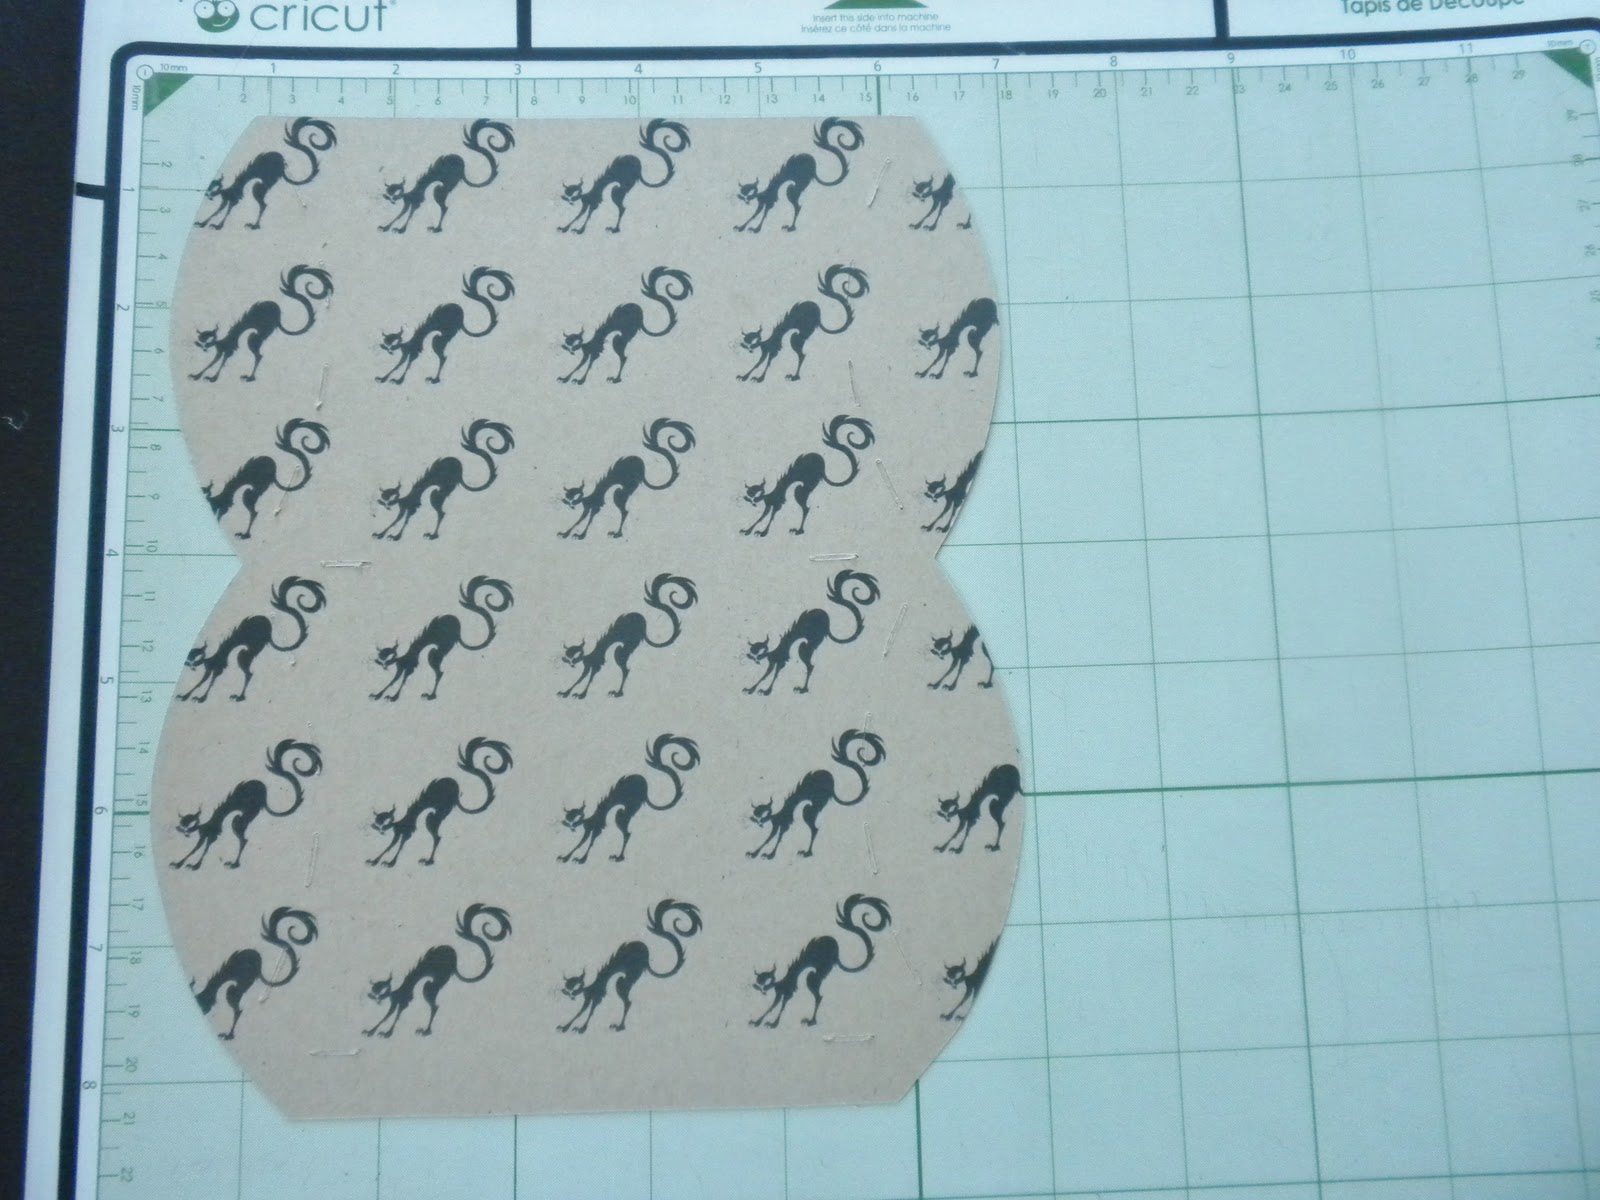
In order to create this box, I first started out by picking an image I wanted for my background (designer) paper.  I found some really fun images on the October 31st cartridge, but ended up choosing the black cat in the end.  Once I had the image I wanted, I went to the mat preview screen and changed my paper size to 8" by 9", then I chose the auto fill feature.  Here is what it looked like:


Before printing your paper, BE SURE to go to the Settings section and change your setting to PRINT ONLY!!  You will now have  own personalized pattern paper.


Cool eh??  Ok, now that you have printed your paper, you need to go back and change your settings to CUT ONLY to cut your pillow box.  There are several different pillow boxes on the Cricut cartridges, but I went with the one on the Enjoy The Seasons Imagine cartridge.  The reason I chose this one is that it is plain, with no cutouts, so there is no need to use a Gypsy to hide any cut lines.  I cut my pillow box at 7.9".


Now you will need to score the box and add some good adhesive to assemble. This is what the box will look like once it is all together:

At this point, just add any fun embellishments you would like.  Super Super easy!!

So, for today's challenge....  create you own background/printed paper using your Imagine and then incorporate it into any project of your choice!  I hope you have fun with this one.

Thanks for stopping by today,  I hope you all have a fabulous weekend! :)
Lori

Wednesday, September 14, 2011

Use Your Stash Wednesday


Hi there! Nancy here with a project made using some of my surplus of crafting supplies. I admit, I am just about as bad about collecting vinyl as I am paper! I order most of my vinyl from expressionsvinyl.com. It is the same vinyl as our Cricut vinyl, but runs about $1.89 for a 12x24 of the regular indoor vinyl. Anyway, I have a ton of it and lots of scraps. I also collect frames, glassware, mirrors, etc. to use with my vinyl. I decided I would use the Word Collage Cartridge to make a changeable seasonal wall decoration. I used an 8x8 shadowbox frame that I had in my stash and lots of vinyl scraps. I cut the whole collage in black and then added the colored pieces to highlight. I plan on making an insert for every season. This particular one is cut at 7.5 inches square, but I will probably cut the rest at 7x7 so they don't go all the way to the edge. The background paper (another scrap), is cut at 8x8. I do apologize for the glare and/or shadow you see-I just couldn't get the perfect photo in the light I had. I think I will also add a removeable accent to the outside of the frame for each season. Probably use magnets to hold it on. Hope you like it.

Tuesday, September 13, 2011

Halloween Mini Card Series

There are 6 weeks left until Halloween and I have decided to post a card each week until Halloween, which is my favorite holiday (if you consider it a holiday). I am going to try and use things that are in my stash and to make theses cards without the use of my Cricut, although I doubt that will happen. LOL! I hope you enjoy my mini card series.

Card 1 (Very Simple)


Recipe:
Designer Paper- DCWV Ghost & Goblin Matstack
Stamps- All Hollow's Eve (Recollection) Elegant Witch for the spider (Martha Stewart)
2 orange Rhinestone from Studio 18 (dollar bin)